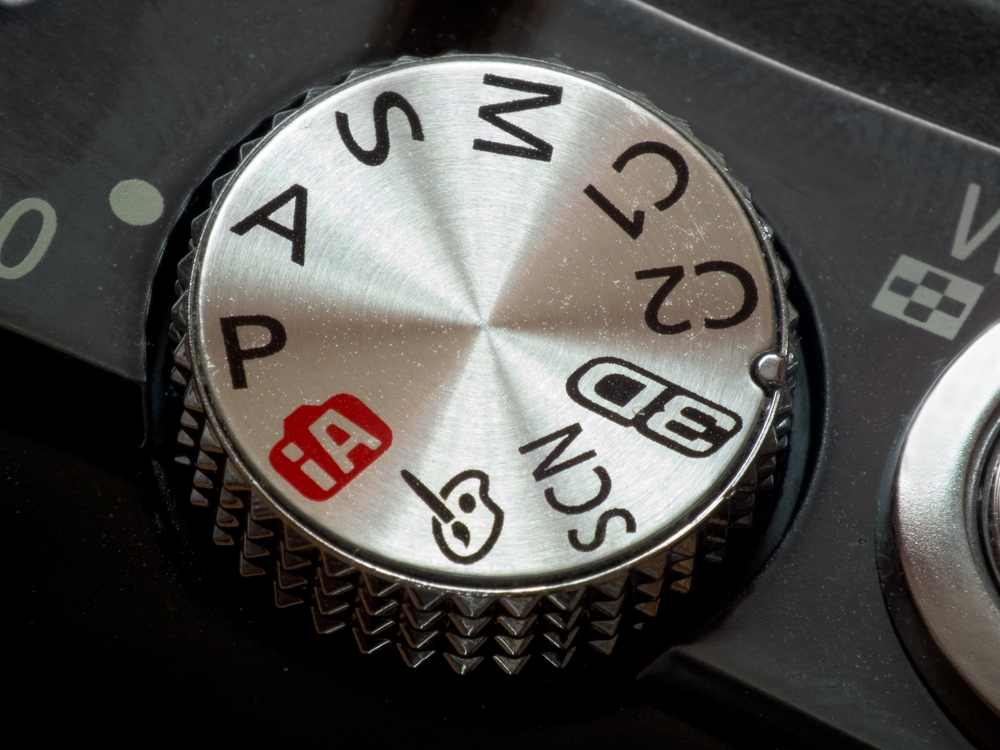
If you are interested in photography, learning all the settings on your camera’s body is an essential first step to achieving any style of photograph. Among a camera’s settings are the ‘Shooting Modes’, typically found on a circular dial on the top of the body. Different shooting modes allow varying levels of control over the exposure of the shot and, more specifically, how the aperture, shutter speed, and ISO are selected for each photograph.
Many photographers live under the assumption that true photography professionals shoot strictly in manual mode. This is absolutely not the case.
Manual mode does give you complete control of the three exposure elements, but it is not a qualification for being professional. It is much more important to recognize when manual is appropriate and when aperture priority can actually be a better choice.
Unlike Manual Mode, where you must select aperture, shutter speed, and ISO settings, aperture priority only requires that you select the f/stop and ISO settings. The camera automatically selects shutter speed based on its interpretation of what is necessary to achieve optimal exposure.
Critics suggest that aperture priority is just one step away from Full-Auto mode, and therefore not acceptable for professionals. Again, this is not the case. Through practice you will learn that efficiency is crucial when it comes to shooting many photographs in a row.
For example, let us consider situations that require constant snap shots, such as a wedding, a sporting event, or a portrait shoot. All of these events necessitate ability to ‘point-and-shoot’ at a moments notice. In these scenarios, aperture priority is extremely useful, giving you the ability to take shots in varying light conditions while still achieving the right exposure.
Imagine shooting a wedding in the park. There are trees, gazebos and areas completely open to the natural sunlight. If you’re shooting in manual, your settings are locked in and the meter will not be adjusting to differences in lighting. One second you’ll be shooting the groomsmen in perfect daylight, the next you may be trying to capture the flower girl playing under a shady tree. If your shutter speed is not properly adjusting from shot to shot, many exposures will end up being less than satisfactory.
Aperture priority allows you to focus on selecting the most appealing depth of field and saves time in fast paced situations when shutter speed will not affect the look of your photograph.
Manual can be used in every situation, if desired. Most often, it is best used with fixed lighting and for shots where the desired look of the photo disagrees with the meter. For example, we would never take a landscape shot at night in aperture priority. The camera’s flash would want to pop up, and the desired exposure would not turn out correctly.
As you become more experienced, you will begin to experiment with ways to achieve any desired look. Using manual will help you distinguish the roles that aperture, shutter speed, and ISO settings play in a photo. From here, it is simply a matter of choosing the right mode for the right situation.
As the common saying goes, “It’s better to work smarter than to work harder!”
By James Lam Join me on Google +