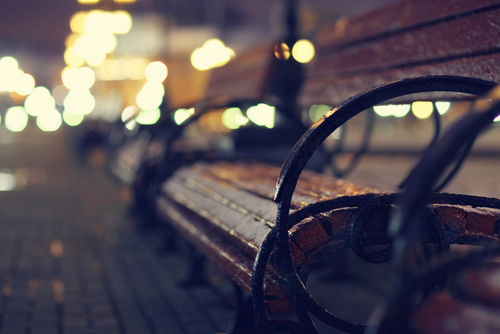
As an amateur photographer, one of the most frustrating parts of refining your photography skills can be the inability to capture images as they appear to your naked eye. Unfortunately, technology really hasn’t caught up with the capabilities of the naked eye quite yet; so don’t hold yourself to an impossible standard.
That being said, it’s important to test your skills and push your skills forward by continually challenging yourself to capture the best images possible. One of the most difficult, but also rewarding, times to truly test your photography skills is after the sun has gone down.
If you’re getting bored with just sticking to daytime photography, don’t be scared to start experimenting with capturing varying nightscapes. If you’re looking to expand your ability to take quality photos at night, here are a few suggestions that might help:
Without a Tripod, It’s Not Worth your Time
When you’re taking nighttime photos, absolute stillness of your camera is required to take clear images. You can do your own research to find a decent, sturdy model that fits your specific needs and preferences. Having a reliable tripod is the only way to get the best of low shutter speeds to capture tack sharp shots.
No Flash, No Problem
When you’re shooting into deep landscapes in low light conditions, flash will have no impact on your ability to capture what you want. Remember to turn your flash off by switching to manual settings, which will also give you greater control over the final image.
Timing is Everything
If you can manage it, you should do your best to shoot in the first half hour after sunset. Shooting at this time will help to prevent streetlights from compromising your ability to capture detail or colors in the brilliant evening sky.
Battery Care
Because long exposures require extensive battery power, it’s essential that you make sure your camera’s battery is fully charged before you set up to experiment with nighttime photos. It can also help to carry a fully charged spare battery along everywhere you go.
A White Balance Trick
While this might seem counterintuitive, setting your camera’s white balance to the ‘daylight’ setting can actually make the sky in your photos a deeper and richer blue, while also giving any bright lights a warm, yellowish tint.
Know your Exposure
You should know that longer exposure times could lead to somewhat unsatisfying, grainy images. Lowering your ISO speed or activating your camera’s noise reductions setting can help you combat this issue. You can also reduce noise and improve image quality in the post-production stage, but you must be careful to avoid the loss of detail.
Capturing Light Trails
Sometimes you might want to try capturing the light trails made by moving vehicles in the distance. If you’re attempting to do so, you will be best served shooting at dusk, in order to retain a slight hint of color in the sky. Typically, an exposure of around 15 seconds will be adequate for this type of shot.
Capturing quality nighttime photos requires experimentation and refinement of your photo skills. If you’re an amateur photographer, you should be sure to check out the learning resources offered by the team at Learn Photography Canada today!