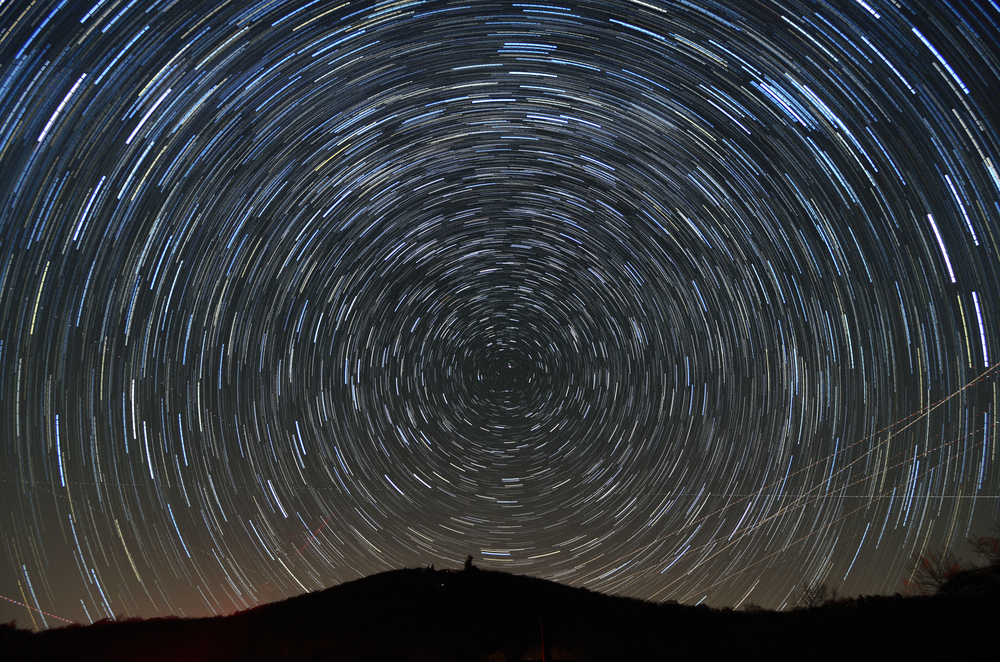
As a photographer, capturing great images of the night sky is one of the most difficult areas to master. It requires extensive knowledge of your camera’s capabilities and the know-how to adapt to a variety of scenes.
While the night sky isn’t one of the easiest areas to consistently photograph, the night sky has infinite potential for you to take astounding and memorable photos once you learn to master the art. As with many other art forms, mastering the art of capturing star trails takes time and careful practice.
At Learn Photography we focus on the education of photographers of all skill levels and background experience. Here are a few tips that will help your progression towards taking awesome photos of star trails:
Long Exposure
One of the easiest ways to take great photos of the night sky is to use a very long exposure. However, this route does require quite a bit of time and there are a few things you should consider when using a long exposure. It’s important that you allow your lens the opportunity to capture as much light as possible so that the stars will register in the final image. When it comes to shutter speed, the ideal number is usually in the area of f/2.8.
The ideal night to go out and capture great star photos is the night of the new moon, meaning the moon will be nowhere in sight. Even the slightest crescent moon will limit your exposure length to the 10-minute range due to the amount of ambient light. Remember, your goal is for the stars themselves to illuminate the landscape, so darkness is your friend.
Image Stacking
An alternative to the long exposure method is taking multiple photos and stacking them in the post process. You want your exposure to be long enough to pick up stars as bright objects in the sky before moving onto the next one. Many photographers stack hundreds of images taken over a period of an hour or so to get the image they’re looking for.
There are several options for post process software that will automatically throw all of your images together and spit out a stunning star trail. These types of software include easy-to-use options like ImageStacker and DeepSkyStacker. Taking photos with the goal of image stacking will result in the necessary images to piece together a nice time lapse video, essentially giving you a 2-for-1 result. Just remember to wait a few seconds in between shots, as your sensor will heat up with successive shots and a hot sensor equates to more digital noise.
Aperture: Wide or Narrow?
Because you’re shooting hour-long exposures, the timing shouldn’t really be a concern. You want to have a sharper image, especially if you’re trying to capture multiple focal points. The main issue with stars is that they are moving. This makes finding your exposure a delicate balance. There’s more to it than simply considering how long your shutter is open. A wider aperture will allow for shorter exposure time because they let in more light. Light is essential to making sure that stars will register on your camera’s sensor. When your images lack enough light, star trails will appear very dim or even non-existing. You’ll benefit from a camera that is capable of very wide apertures, ideally f/2.8 or wider.
There are a number of things to consider when shooting star trails, and practice will eventually produce results. The aforementioned suggestions are just a few ideas that might help you take more effective star trails in the future.
Sources