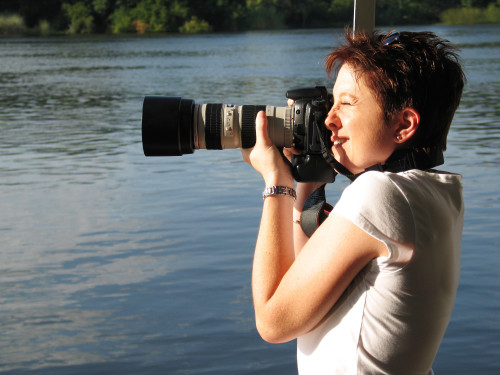
Taking steady, well-focused photos is one of the photographer’s greatest struggles. While we enjoy the freedom of point-and-shoot photography, shaky hands can compromise the overall quality of your photos.
We find it incredibly easy to rely on tripods to steady our shots, but creating an overreliance on a tripod can actually compromise your ability to take quality photos when you don’t have a tripod readily accessible. In this regard, every photographer can benefit from exploring various techniques to make their hands-on photos steadier.
Mastering your hands-on technique will ultimately benefit you by allowing you to take quality photos in a wide variety of different settings. As pointed out above, you won’t always be able to rely on a tripod to take steady photos.
Here are a few hands-on techniques that you should master to help you take clearer and well-focused photos without the use of a tripod:
Elbows In
The first easy technique you can use to steady your hands-on photos is to pull your elbows into your body and exhale completely before depressing the shutter. Especially when you’re using a wide aperture or a low shutter speed, even the tiniest breath can introduce shake. Pulling your elbows in will help you keep things steadier and pressing them firmly into your chest will provide even greater stability.
Raise Your Left Shoulder
Obviously this tip assumes that you’re primarily a right-eyed photographer. If you prefer to use your left-eye dominantly, simply reverse this suggestion to fit your preferences. For a right-eyed photographer, this tip requires a momentary shift to the left eye. By raising your left shoulder and bracing your left elbow into your chest, you can find a greater level of stability. As always, be careful to exhale completely before depressing the shutter in order to avoid introducing excessive shake.
Create a Tripod With Your Knee
If your shot doesn’t require an elevated vantage point, you can find a certain level of stability by creating a tripod with your knee. To do so, sit down and shift your weight to either cheek depending on your preference. By placing your weight on one cheek or the other you can lift the opposite knee up, place your foot flat on the ground in front of you, and rest your elbow on top of your knee. Bringing your other elbow in close to your chest will also help you stabilize the camera.
Lay Down
Lying down is perhaps the most obvious way to avoid shake without using a tripod. Lie flat and allow your camera’s lens to sit directly on the ground. One issue with this approach is that you’re very likely to have a downward tilt to your lens and, unless you’re trying to photograph the pavement, this won’t be very conducive to getting quality shots. In order to remedy this, you can either place your hand flat on the ground underneath your lens or make a fist and place it under your lens. This will help you create an upward tilt and allow you to find the shot you’re looking for.
There are many techniques that will help you take steadier photos by hand. The aforementioned tips are simply a few ways in which you can take clearer photos without fostering an overreliance on carrying a tripod with you everywhere you go.
By James Lam Join me on Google +